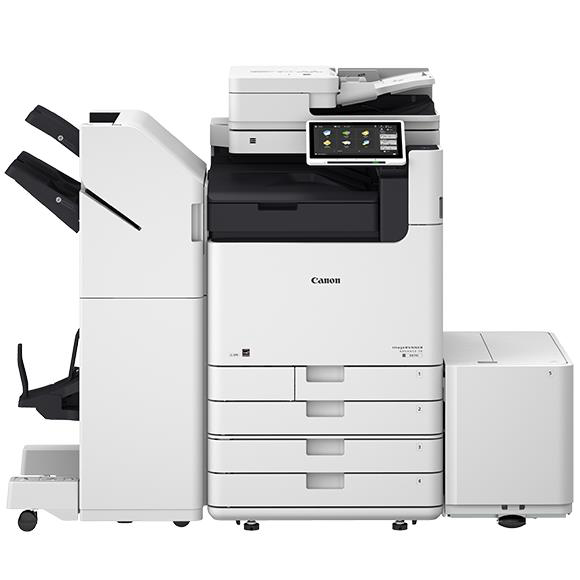
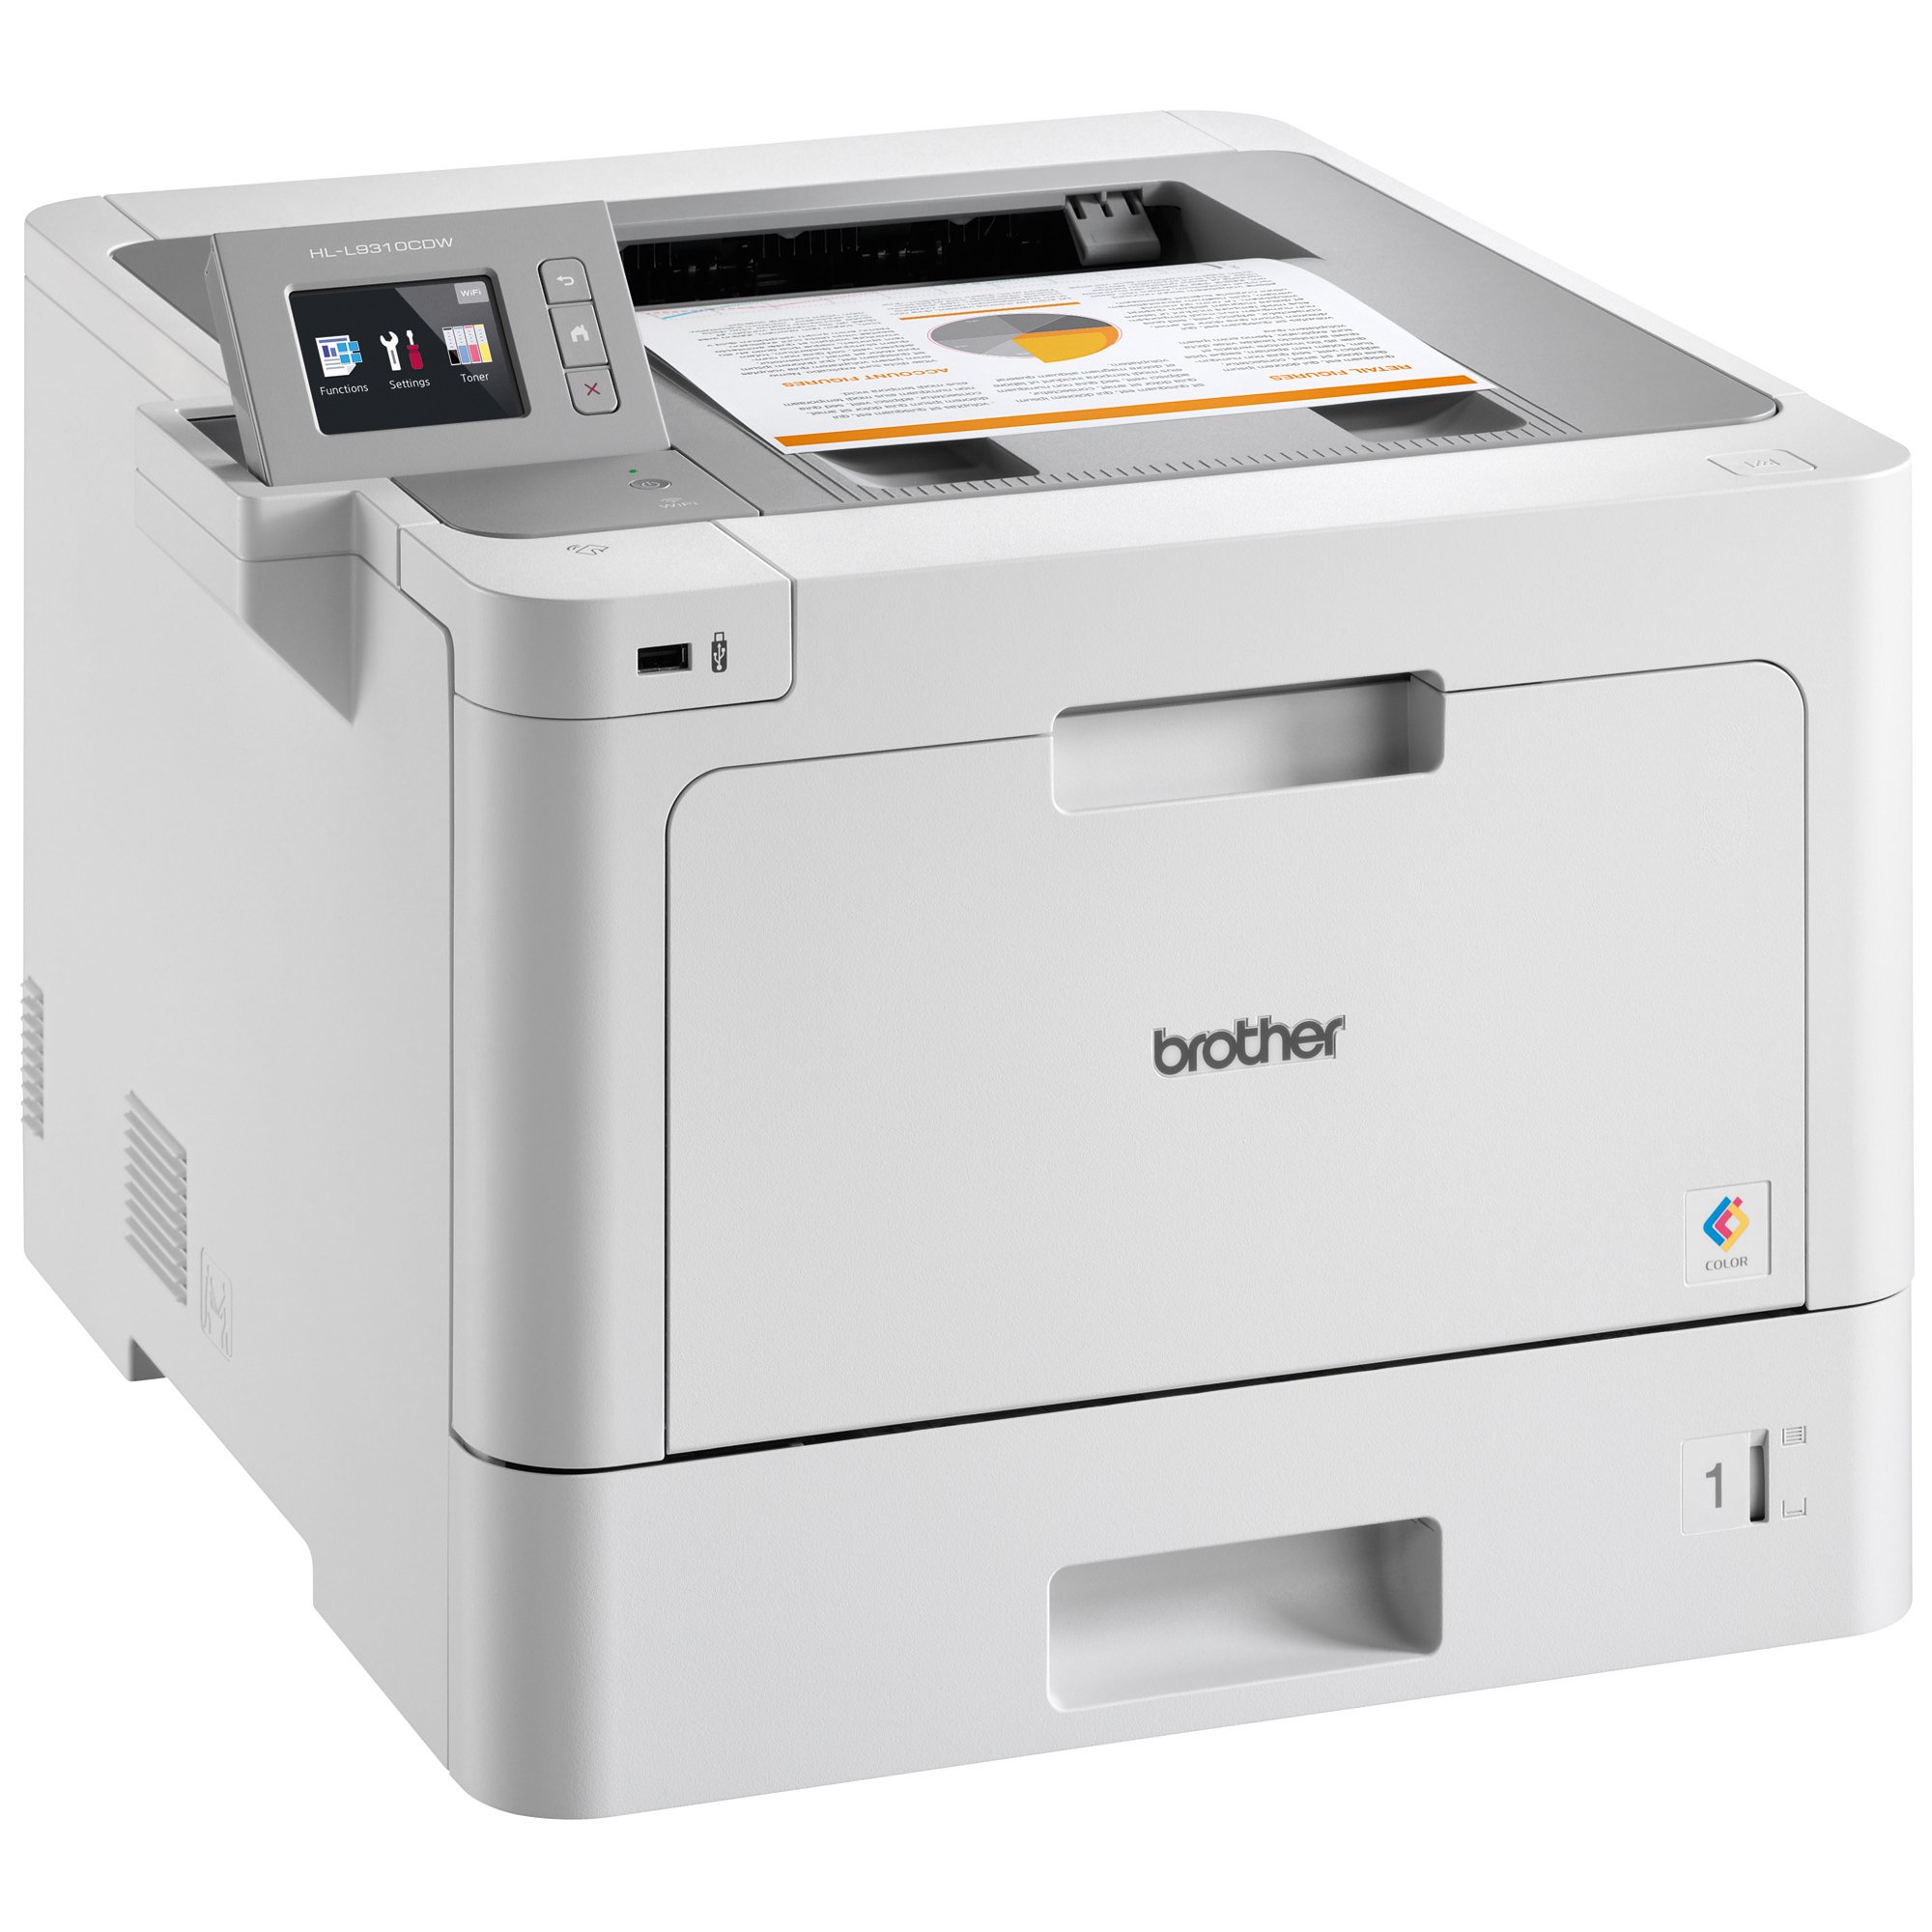
If you own a Canon printer, you know how important it is to keep it clean and well-maintained. A dirty printer can lead to poor print quality, paper jams, and even damage to the printer itself. In this article, we will provide you with a comprehensive guide on how to clean your Canon printer, step-by-step.
Step 1: Turn off the Printer
Before you start cleaning your Canon printer, make sure to turn it off and unplug it from the power source. This will prevent any accidents or damage to the printer.
Step 2: Remove the Ink Cartridges
Next, remove the ink cartridges from the printer. This will give you better access to the inside of the printer and make it easier to clean.
Step 3: Clean the Exterior
Using a soft, lint-free cloth, gently wipe down the exterior of the printer. Be sure to remove any dust or debris that may have accumulated on the surface.
Step 4: Clean the Paper Tray
If your Canon printer has a paper tray, remove it and clean it thoroughly. Use a damp cloth to wipe down the tray and remove any dirt or debris that may have accumulated.
Step 5: Clean the Print Head
The print head is the part of the printer that applies the ink to the paper. Over time, the print head can become clogged with dried ink, which can lead to poor print quality. To clean the print head, follow these steps:
- Open the printer cover and locate the print head.
- Use a soft, lint-free cloth to gently wipe down the print head.
- If the print head is still dirty, use a cotton swab dipped in rubbing alcohol to clean it.
- Allow the print head to dry completely before replacing the ink cartridges.
Step 6: Clean the Rollers
The rollers are the parts of the printer that feed the paper through the printer. Over time, the rollers can become dirty or worn, which can lead to paper jams. To clean the rollers, follow these steps:
- Use a soft, lint-free cloth to gently wipe down the rollers.
- If the rollers are still dirty, use a cotton swab dipped in rubbing alcohol to clean them.
- Allow the rollers to dry completely before replacing the paper tray.
Step 7: Reinstall the Ink Cartridges
Once you have finished cleaning your Canon printer, reinstall the ink cartridges and turn the printer back on. Run a test print to ensure that the printer is functioning properly.
Conclusion
Cleaning your Canon printer is an important part of printer maintenance. By following these simple steps, you can keep your printer in top condition and ensure that it continues to produce high-quality prints. Remember to clean your printer regularly to prevent any issues from arising. Happy printing!


